
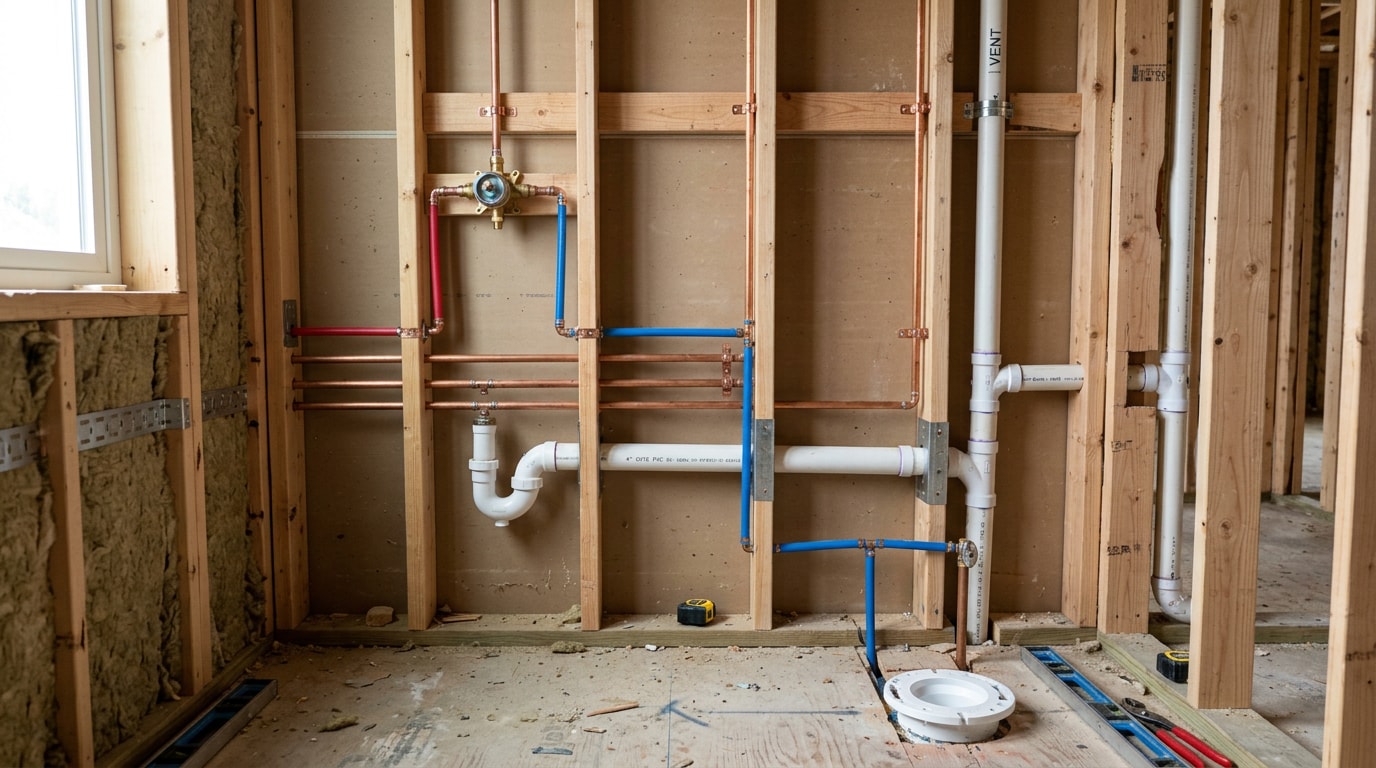
A bathroom plumbing diagram Charleston, SC homeowners can actually read turns invisible pipework into a plan you can act on, whether you're remodeling a peninsula bungalow or chasing a gurgling drain in Mount Pleasant. It maps every supply line, drain, vent, and trap behind your walls so nothing gets guessed at mid-project or during a permit review. Here's how to read one, the rough-in numbers inspectors check, and the mistakes that turn a simple layout into a failed inspection.
What Is a Bathroom Plumbing Diagram?
A bathroom plumbing diagram is a drawing that maps every pipe and connection in a bathroom: supply lines bringing in hot and cold water, drain lines carrying waste away, vent pipes that let air into the system, and the exact spots where each fixture ties in. Think of it as the wiring schematic for your bathroom, just with water instead of electricity.
Charleston homeowners run into this diagram most often during three situations: planning a remodel, applying for a plumbing permit, or troubleshooting a drain or venting problem that won't go away.
Older downtown homes often have pipe routing that doesn't match current code. A current layout helps a contractor, or you, see what's actually behind the walls before demo day starts. That matters more in a humid coastal climate, where older galvanized or cast-iron lines corrode faster than they would inland.
Good remodel planning starts with this diagram, not with picking tile. The plumber services page covers what local pros check during a rough-in visit before any work begins.
Key Components of a Bathroom Plumbing System
Every bathroom plumbing diagram is really three overlapping systems drawn as one picture: the water supply bringing clean water in, the drain-waste-vent (DWV) system carrying waste and sewer gas out, and physical layout constraints (wall thickness, fixture spacing, floor joists) that dictate where pipes can run.
Water Supply Lines
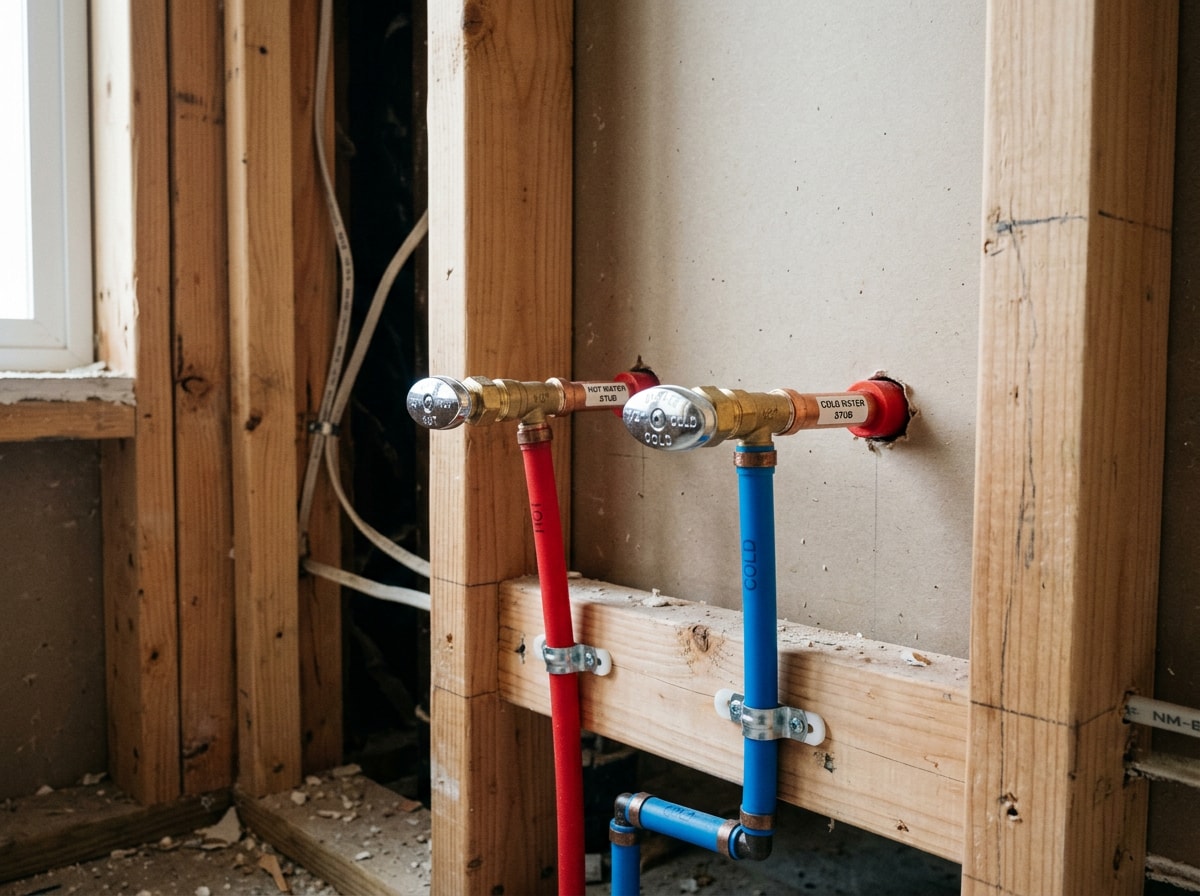
Water supply lines deliver hot and cold water to each fixture, usually running through the wall directly behind the sink, tub, or shower valve. Most Charleston homes built or renovated in the last twenty years use PEX tubing for supply lines because it resists freeze-cracking and installs faster than rigid pipe. Plenty of older homes still run on copper that's holding up fine with proper maintenance.
Standard bathroom supply lines run 1/2 inch in diameter for individual fixtures, branching off a 3/4 inch main line. Hot and cold lines run parallel, typically 6 to 8 inches apart at the wall, before narrowing to the fixture connection point.
Drain, Waste & Vent (DWV) Lines, Traps, and Wet Walls
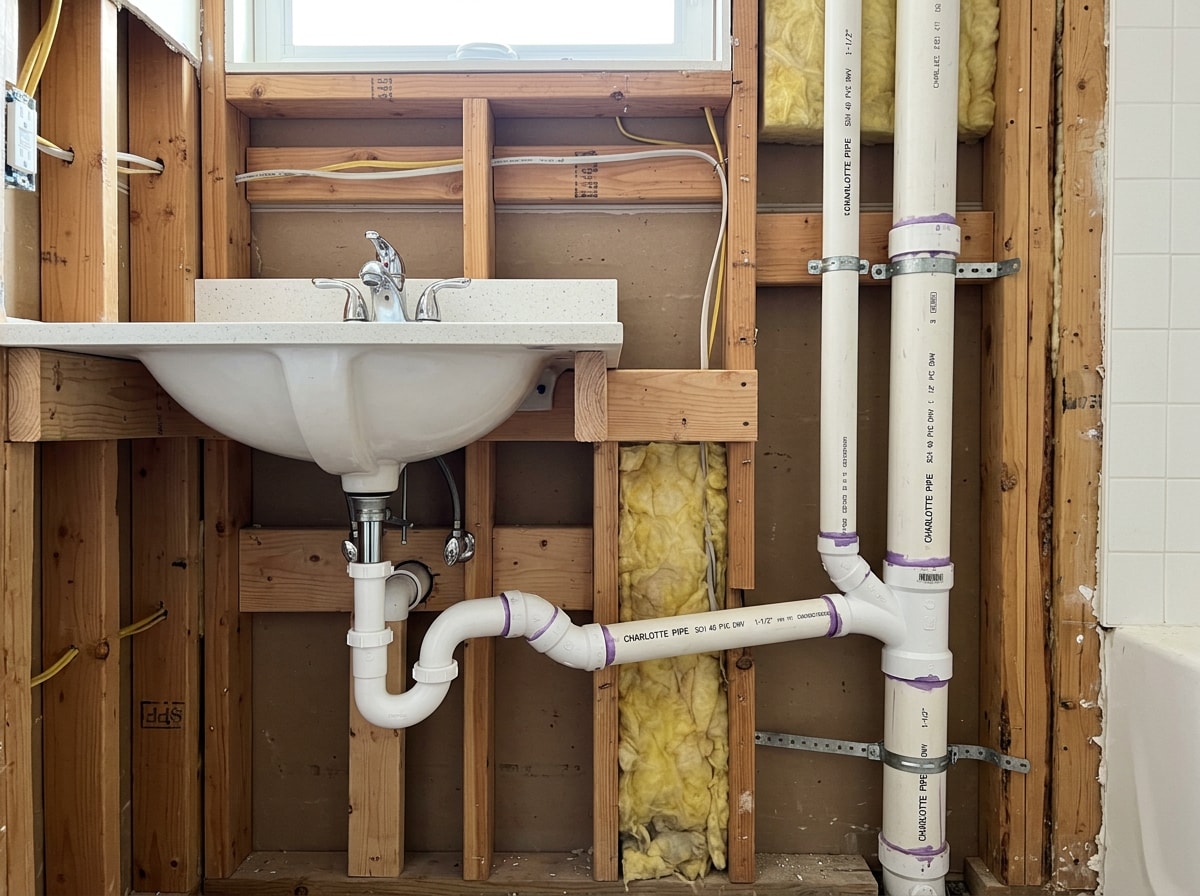
Drain lines carry wastewater toward the main sewer line. Vent pipes run upward through the roof to let air in behind that flowing water. Without venting, drains gurgle, drain slowly, or siphon water out of traps entirely.
Every fixture needs a P-trap, the curved pipe section that holds standing water to block sewer gas from entering the bathroom.
Most bathrooms are built around a single wet wall, the wall housing the main drain stack and vent pipe, with toilet, sink, and shower all tying in from different angles. Keeping fixtures close to this wall is one of the biggest cost-savers in a remodel, since moving a toilet or shower away from the existing stack often means breaking into floor joists or adding new venting.
For bathrooms needing new fixture placement, such as relocating a shower installation, it's worth having a licensed plumber review the layout before any walls come down.
Bathroom Rough-In Dimensions That Make Layouts Work
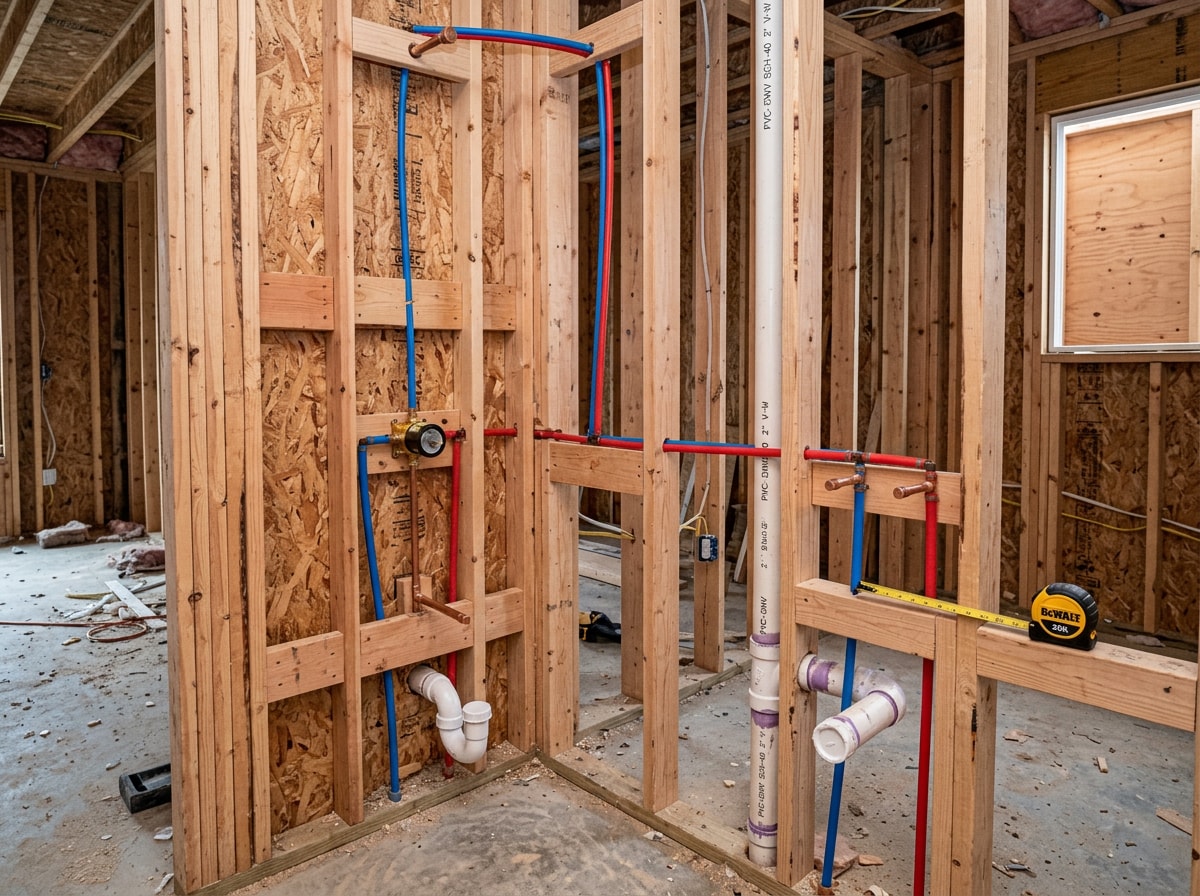
Rough-in dimensions are the measurements (pipe height, distance from walls, spacing between lines) that a plumbing inspector checks before drywall goes up. Exact figures can shift based on fixture manufacturer and local amendments, so Charleston County and City of Charleston projects should confirm current requirements with the local building department before finalizing a layout.
Toilet Rough-In Basics
The standard toilet rough-in measures 12 inches from the finished wall to the center of the closet flange, the fitting that anchors the toilet to the drain pipe. Under the International Plumbing Code, a water closet shall not be set closer than 15 inches from its center to any side wall, partition, vanity or other obstruction , and there shall be not less than a 21-inch clearance in front of a water closet to any wall, fixture or door .
Some older Charleston homes built before current code adoption may have tighter spacing grandfathered in. If you're relocating a toilet during a remodel, check these minimums against the IPC fixture clearance chapter rather than assuming your existing layout still qualifies.
Sink and Shower Rough-In Basics
These numbers come from common fixture manufacturer specs rather than a single code section, so always check the install sheet for the exact model you're installing:
- Sink drain: stub-out 18 to 20 inches above the finished floor
- Sink supply lines: spaced about 4 inches to each side of center, behind the faucet
- Sink rim height: 31 to 36 inches off the floor, depending on vanity or comfort-height design
- Shower valve: centered around 48 inches above the finished shower floor
- Showerhead arm: roughed in near 80 inches for average ceiling heights
- Tub framed opening: 60 inches wide for a typical alcove tub, drain centered per the manufacturer template
A drain set too low or too high forces awkward P-trap angles that can affect drainage once the vanity goes in, so confirm the sink drain height before tile goes down.
If your current layout doesn't match these numbers, our team can check it before you commit to demo work. Get a free estimate and we'll walk the space with you.
Common Bathroom Plumbing Diagram Types & How to Read Them
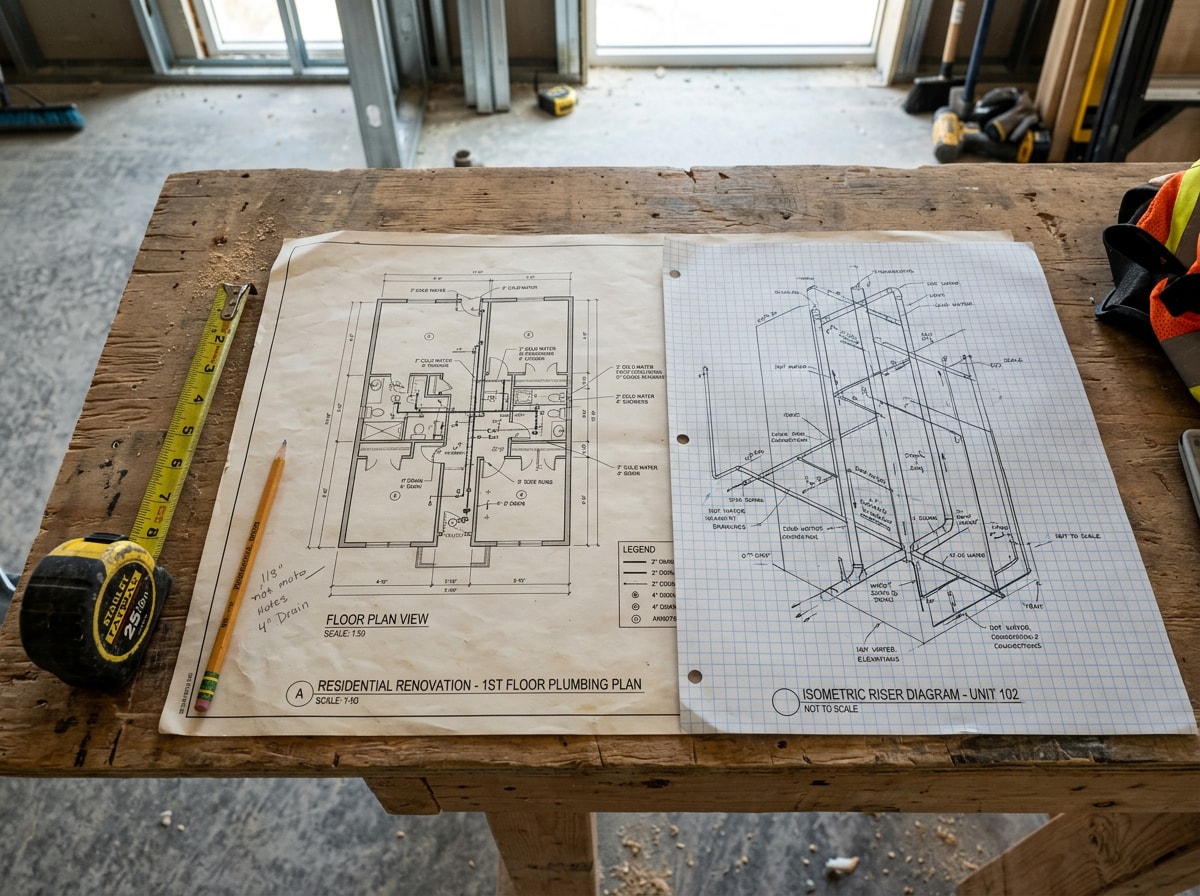
Bathroom plumbing diagrams come in three common formats: plan view (a top-down floor layout), isometric (a 3D-style angled view), and riser diagrams (vertical stack views for multi-story plumbing).
| Diagram Type | Best Used For | Typical Audience |
|---|---|---|
| Plan View | Permit submission, general layout planning | Homeowners, permit offices |
| Isometric | DIY planning, visualizing pipe runs in 3D | DIYers, remodel planners |
| Riser Diagram | Multi-story troubleshooting, stack tracing | Plumbers, condo/multi-unit projects |
Plan view diagrams look like a simplified floor plan and are what most permit offices want to see. Isometric diagrams tilt everything into a pseudo-3D angle, which is useful if you're sketching your own layout; our guide on isometric plumbing drawings for Goose Creek permit reviews breaks down how plan reviewers read them line by line. Riser diagrams track plumbing vertically through multiple floors, which matters more for condos than single-level Charleston bungalows.
Across all three formats, the symbols stay consistent: solid lines represent water or waste-carrying pipe, dashed lines represent vent pipes, and small circles or squares mark fixture connection points.
Choose the Right Plumbing Supplies & Materials
PVC, cast iron, copper, and PEX each show up in bathroom plumbing diagrams, and the right pick depends on whether you're running supply or drain lines.
| Material | Typical Use | Why Plumbers Choose It |
|---|---|---|
| PVC | Drain, waste, and vent lines | Low cost, corrosion resistant, easy to cut and glue |
| Cast iron | Older drain lines | Quiet operation, heavy and harder to modify |
| Copper | Supply lines | Decades of proven durability, requires soldering |
| PEX | Supply lines | Flexible, freeze resistant, push-fit or crimp connections |
PEX is produced in nominal tube sizes with outside diameters matching copper tubing of the same nominal diameters , which is part of why it swapped in so easily for copper on Charleston remodels without resizing holes in framing.
Common bathroom pipe diameters stay fairly consistent across materials: 1/2 inch for fixture supply lines, 2 inch for sink and tub secondary drains, and 3 inch for the toilet drain line. For sizing and installation standards by material, the Plastics Pipe Institute's PEX resource page covers more detail than a generic rule of thumb.
DWV Rules & Code-Required Fittings
A bathroom plumbing diagram only works if it respects the code logic behind drainage and venting, otherwise the system looks right on paper but backs up in real use. Charleston falls under IPC-based amendments, though local inspectors have final say on interpretation.
Venting Options: Dry Vent, Common Vent, Wet Vent & AAV
A dry vent is a dedicated pipe carrying only air. A wet vent carries both air and drainage from an upstream fixture, a common setup in small bathrooms where space is tight. A common vent serves two fixtures on opposite sides of the same wall through a single vertical pipe. An air admittance valve (AAV) offers a mechanical alternative that opens to let air in without a full vent stack through the roof.
Wet venting is permitted in many situations, but the fixture combinations allowed vary by code edition and local amendment. AAVs are accepted in most jurisdictions for specific applications like island sinks, though not universally. Confirm current local rules through the IPC venting chapter before finalizing a venting plan.
Drain Slope, Trap Seals & Toilet Flange Height
Drain slope isn't a single flat number across every pipe size. Horizontal drainage pipe 2½ inches or smaller needs at least ¼ inch per foot of slope, while 3 to 6 inch pipe needs at least ⅛ inch per foot . That means your sink's 2 inch branch and the toilet's 3 inch drain aren't sloped the same way, a detail most rough-in guides skip entirely. Too little slope causes clogs; too much can outrun the water and leave solids behind anyway.
Trap seals (the standing water in a P-trap) need to stay between 2 and 4 inches deep to reliably block sewer gas. Toilet flange height is one of the most common inspection failure points: it should sit flush with or slightly above the finished floor, not buried under tile or left floating above it. A cleanout gives future plumbers access to clear blockages without cutting into a wall or floor.
Common Bathroom Plumbing Layouts & Diagram Examples
Most bathroom plumbing layouts are variations on a handful of standard footprints, not custom designs built from scratch. Staying close to the existing wet wall is the single biggest factor in keeping remodel costs down, especially in older Charleston peninsula homes where floor plans are tighter and relocating plumbing often means navigating historic framing.
Standard Full Bathroom Layout
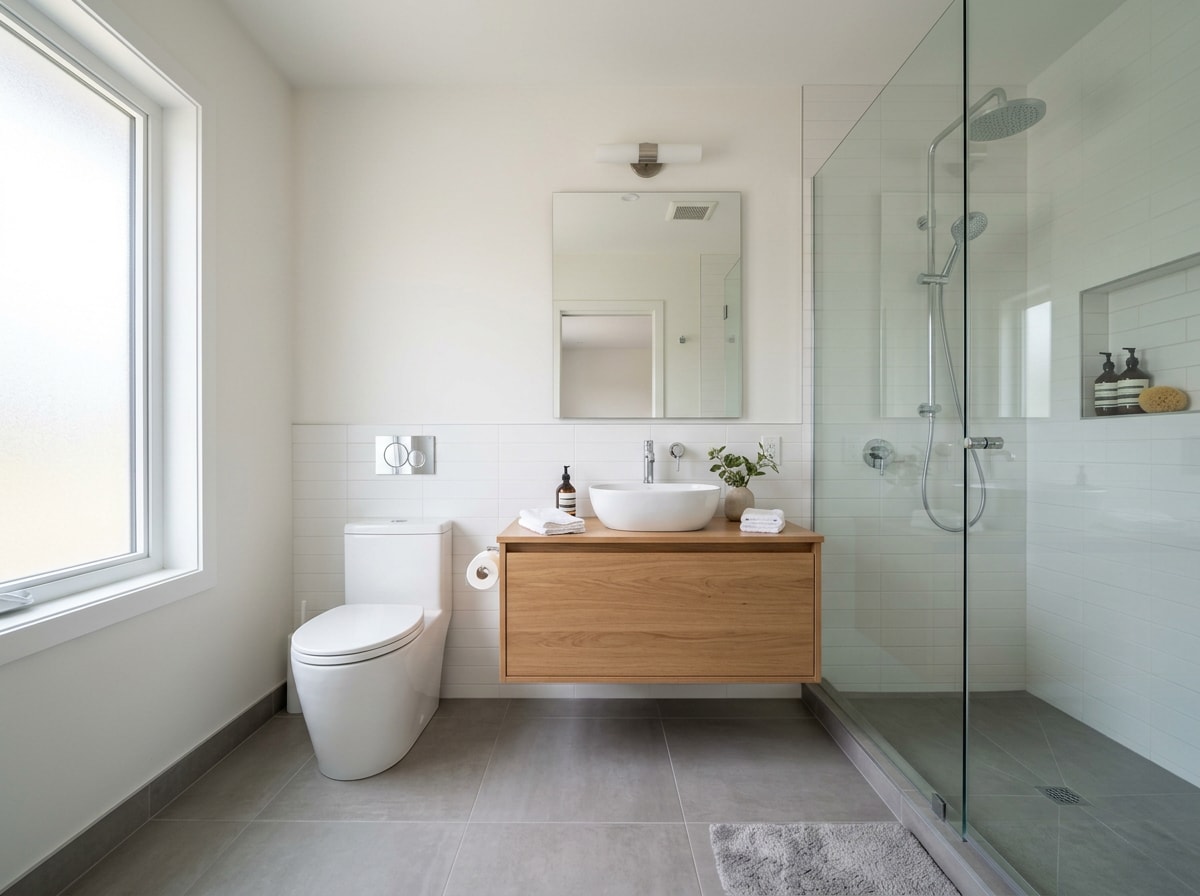
The classic 3-fixture bathroom layout places the toilet, sink, and shower or tub along or near the same wet wall, with the toilet closest to the main stack and the sink and tub branching off secondary drain lines. In a typical diagram, the 3 inch toilet drain ties directly into the stack, a 2 inch sink drain joins nearby, and the shower or tub drain completes the wet wall triangle.
Primary, Double-Vanity, Small & Ensuite Layouts
Primary bathroom layouts often expand on the standard footprint with a double vanity, meaning two sink drains and two sets of supply lines sharing a single wet wall. This works best when both sinks sit on the same wall rather than opposite walls, keeping drain runs shorter and venting simpler.
Small bathroom and ensuite layouts often get creative with back-to-back wet walls, sharing a single stack between two bathrooms on adjoining walls, common in additions or converted closets. This saves on materials but requires careful planning so vent sizing accounts for both bathrooms' fixture loads, not just one.
If you're planning a toilet installation as part of a double-vanity or ensuite layout, confirm vent sizing before framing closes in around it.
How to Draw Your Own Bathroom Plumbing Diagram
Sketching a basic diagram yourself is realistic for planning purposes, even if a licensed plumber or the permit office ultimately needs the final version.
- Measure the existing room, including wall-to-wall dimensions, door and window placement, and ceiling height.
- Locate and mark the wet wall, usually the wall shared with a kitchen or another bathroom above or below.
- Sketch water supply lines from the main water source to each fixture location.
- Sketch DWV lines, mapping drain paths from each fixture back to the stack, noting required slope direction.
- Check clearances against the rough-in dimensions covered earlier.
- Note pipe materials and diameters, labeling PEX versus copper and marking supply versus drain sizes.
This sketch becomes your talking point when consulting a professional, and some version of it is often required for a permit submission. Once you've got a working draft, a licensed plumbing team near Charleston can confirm it meets code before you commit to demo work.
Common Bathroom Plumbing Mistakes & Troubleshooting
The most frequent diagram mistake is treating venting as an afterthought, sketching supply and drain lines first, then trying to squeeze a vent path in wherever there's room left. Vent routing should be planned alongside drain lines from the start, since it directly affects which walls and floor penetrations are possible.
Here's a scenario that plays out often on Charleston remodels:
A homeowner measures the standard 12-inch toilet rough-in directly from bare studs. They add 1/2 inch drywall and tile afterward. That extra inch of finished wall thickness pushes the flange out of spec. What was 12 inches from framing is now only 11.5 inches from the actual finished wall, and the toilet fails clearance inspection.
The fix: always measure rough-in distances from where the finished wall surface will sit, not from the studs, and build in a small buffer if tile thickness isn't finalized yet.
Bathroom venting mistakes also show up later as slow drains, gurgling sounds, or sewer odor that seems to come from nowhere. These symptoms often trace back to a vent that's undersized, blocked, or improperly routed. Pulling out the original plumbing diagram, if one exists, is usually the fastest way to find where the problem actually sits instead of guessing at symptoms.
Why Trust This Guide
KO Plumbing SC is a licensed plumbing contractor serving Charleston, Mount Pleasant, Summerville, and the surrounding Lowcountry, and this guide reflects patterns we see on real service calls, not just code text. On jobs across the downtown peninsula, we regularly find galvanized supply lines or re-routed drain branches that were never updated on paper, which is exactly the kind of gap a current diagram is meant to catch before a remodel starts.
If you want a second set of eyes on your layout before you open a wall, reach out through our contact page or visit KO Plumbing SC to see the full range of services we handle across the region.
FAQ
What Is a Bathroom Plumbing Diagram?
A bathroom plumbing diagram is a drawing showing water supply lines, drain and vent pipes, and fixture connections within a bathroom. It helps homeowners, contractors, and inspectors understand how water enters and waste exits before construction or repair work begins.
Why Do I Need a Bathroom Plumbing Diagram Before Remodeling?
A diagram prevents costly mismatches between where you want new fixtures and where existing pipes actually run. Without one, remodel planning often leads to discovering mid-project that a planned sink or toilet location doesn't align with usable drain or vent access.
How Far Can a Toilet Be From a Vent Stack?
Most articles repeat a flat 6-foot rule, but that's not quite how the code reads. Table 906.1 sets maximum trap-to-vent distances by trap size: a 1½ inch trap allows 6 feet at ¼ inch slope, a 2 inch trap allows 8 feet, and a 3 inch trap allows 12 feet at ⅛ inch slope . More importantly, the code exempts self-siphoning fixtures such as water closets from this distance limit entirely . In practice, plumbers still keep toilets close to the stack to control slope and simplify venting, but it's not a hard numeric cutoff the way it's often described.
Do I Need a Permit for a Bathroom Plumbing Diagram?
Most jurisdictions require a rough-in diagram as part of permit submission whenever fixtures are being added or relocated, not just for cosmetic updates. Plumbing rough-in inspections require all plumbing stub-outs to be complete before the work is concealed . Before starting work, confirm what triggers a rough-in inspection through the City of Charleston Permit Center or your local building department.
Can I Move a Toilet Without Extending the Vent?
Sometimes, but it depends on distance and trap size. Moving a toilet a few inches within the same wet wall usually keeps it within code without new venting. Moving it to a different wall almost always means adding a vent connection, which is why checking the diagram before demo saves a reopened wall later.