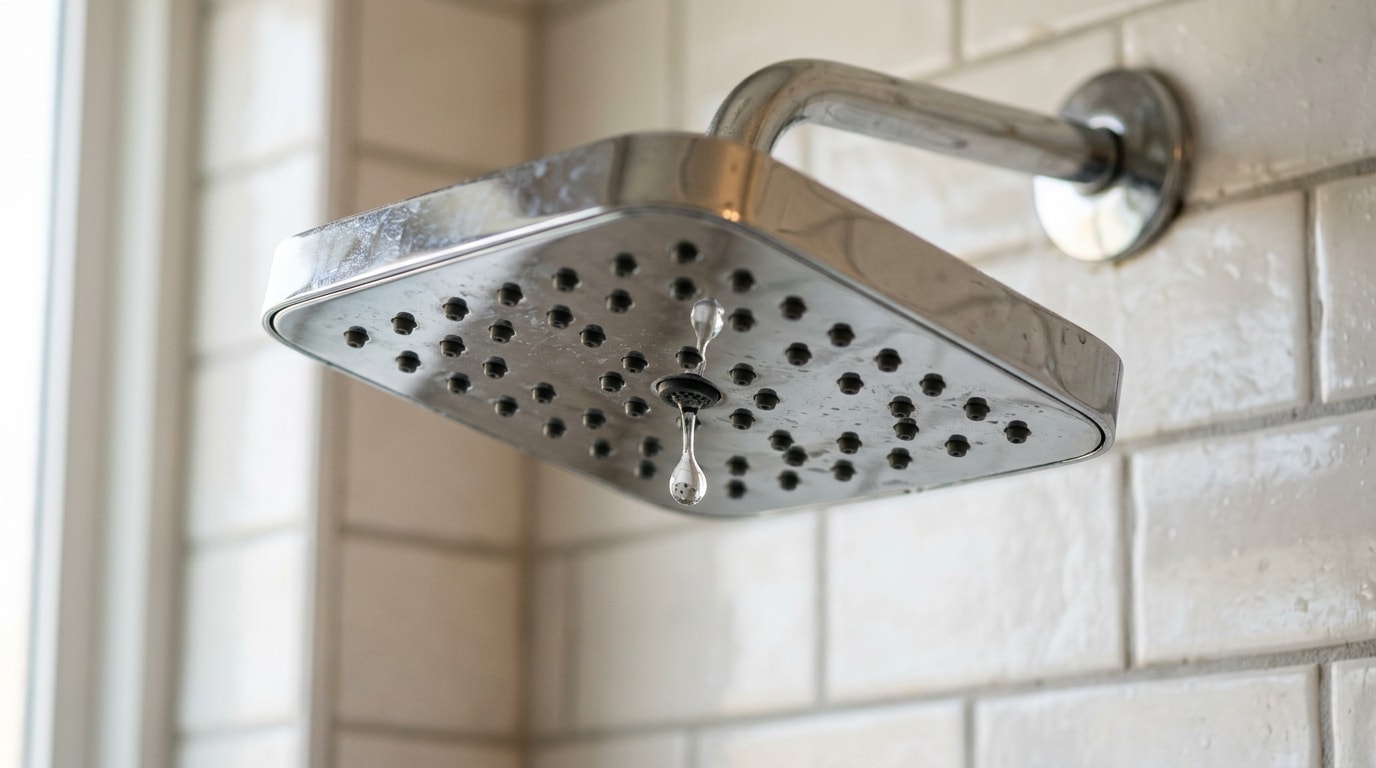
A leaking shower head in Ladson, SC usually comes down to one of three fixable problems: mineral buildup, a worn washer, or a failing valve cartridge. Most homeowners can stop the drip in under an hour with a few dollars in parts and no plumber required. Here's exactly how to diagnose the cause, fix it step by step, and know when the leak means it's time to call a pro.
Why Your Shower Head Is Leaking
Before you grab a wrench, figure out which of the usual suspects you're dealing with. The fix that works for mineral buildup won't do anything for a bad valve cartridge, so a quick diagnosis saves you a wasted trip to the hardware store.
Dripping After Shower vs. an Actual Leak
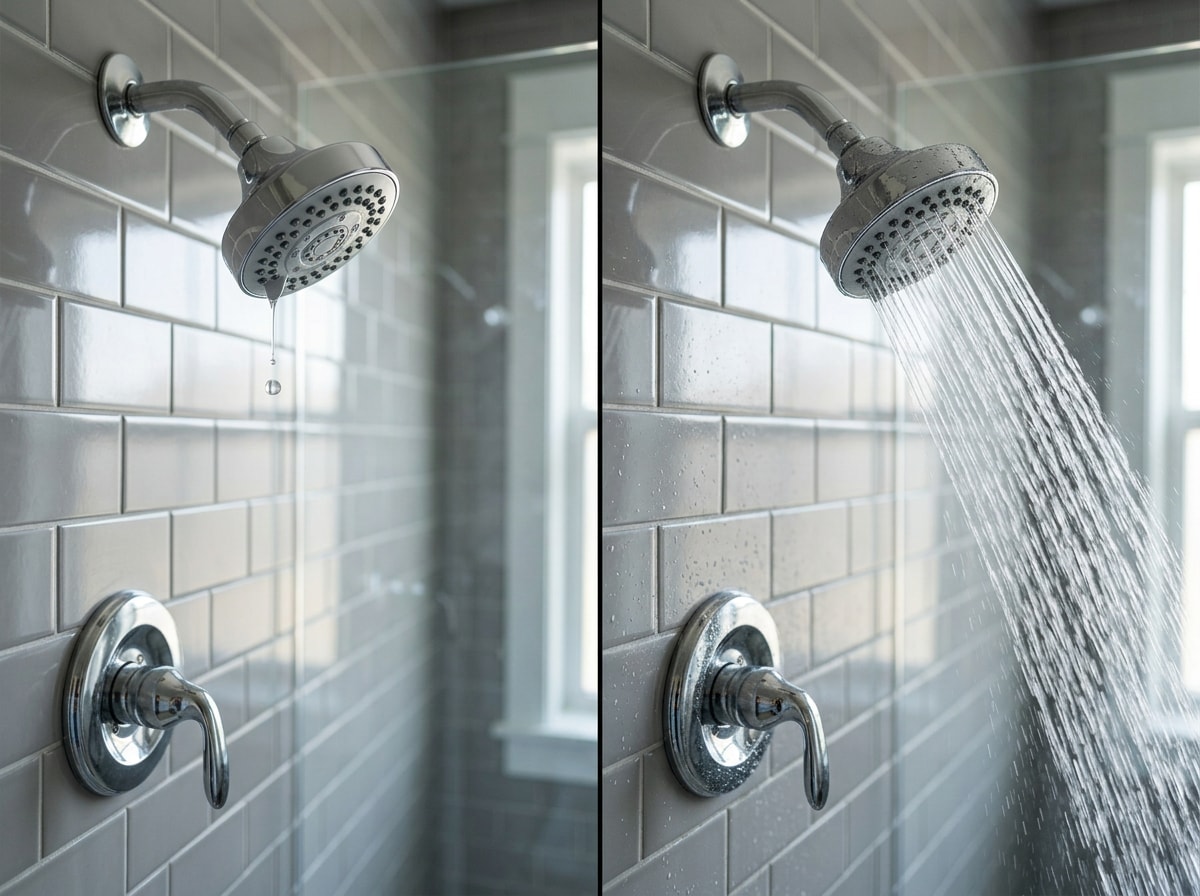
A normal shower head drips briefly after you shut the water off as residual pressure clears, then stops within a few seconds. An actual leak keeps dripping indefinitely, either from the spray holes and connection point while water runs, or from the head itself after the water is fully off.
Ask yourself one question: does the dripping stop completely within a few seconds, or does it continue indefinitely? If it stops fast, you're fine. If it keeps going, especially after the water is off, a worn valve cartridge behind the wall is often the real culprit, not the shower head itself.
The Three Common Culprits
Mineral buildup. Charleston-area water isn't especially hard. Charleston Water System has moderately soft water, measuring an average hardness of 58.4 ppm, or 3.4 gpg . That still leaves enough calcium and magnesium over the years to clog spray holes and trap water that slowly drips out after the faucet is off, especially in older fixtures that haven't been cleaned.
Worn washers. The small rubber seal between the shower head and the shower arm creates a watertight connection. These seals harden and crack with heat and daily use, often within just a few years in an older fixture.
A worn cartridge valve. Single-handle faucets use a cartridge to control temperature and flow. A failing cartridge is the most common reason a shower drips continuously even when the water is completely off.
In our service calls across Ladson and the surrounding Lowcountry, worn washers and buildup cause the majority of the leaking shower head calls we get. Full cartridge or valve body failures are the exception, not the rule, which is good news if you're hoping to fix this yourself. If buildup or a worn washer keeps coming back on the same fixture, a professional plumbing leak repair visit can confirm what's actually failing before you keep replacing parts.
What You'll Need Before You Start
Two quick steps can save you a trip to the store entirely. Try these before you touch a wrench.
Wipe the shower head down with a soft cloth and an all-purpose, non-abrasive bathroom cleaner. Scrub the nozzle face with a soft nylon-bristle brush to loosen surface debris, then run the shower to see if that alone solved it. It won't fix every leak, but it's the fastest one to rule out.
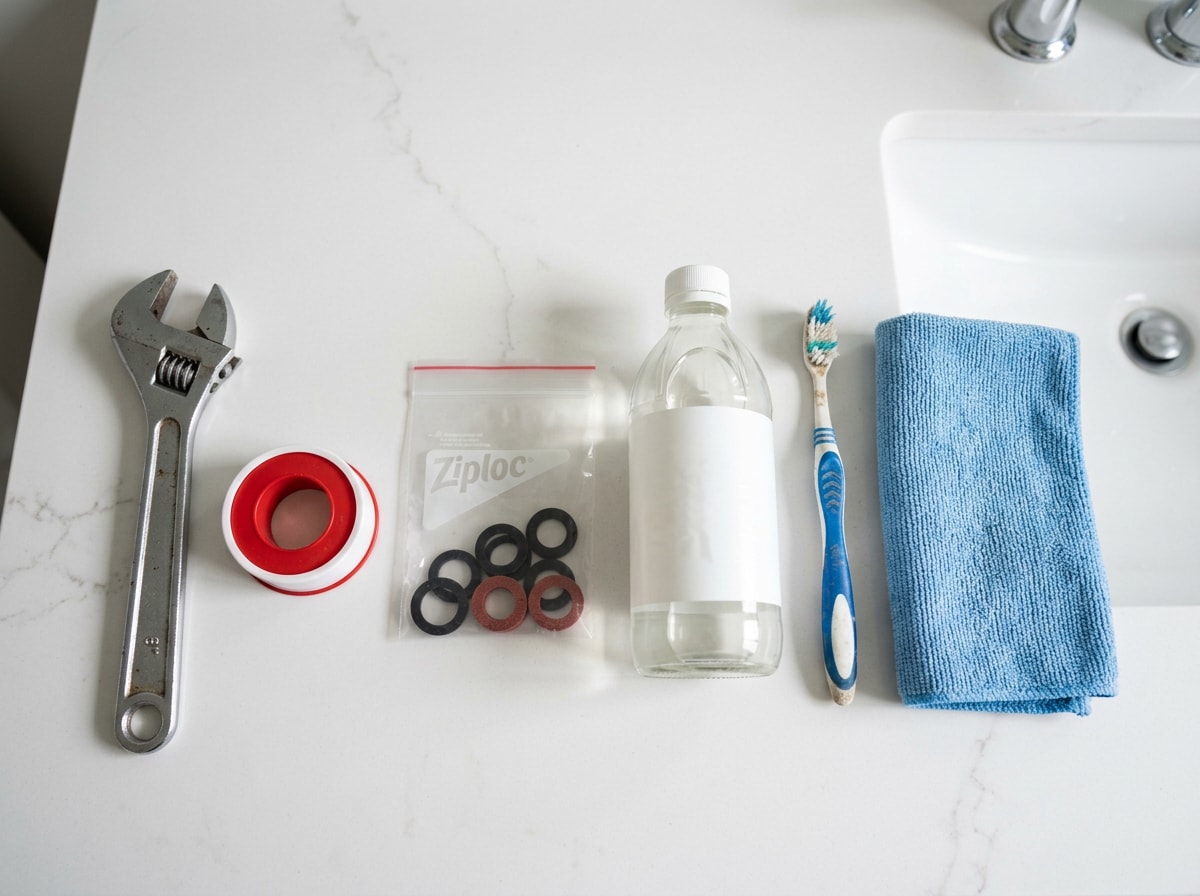
For most repairs, a $5 to $15 washer kit from a hardware store is all you need. A full cartridge replacement runs $15 to $40 depending on your faucet brand. Beyond that, gather:
- An adjustable wrench or tongue-and-groove pliers
- A soft cloth or old towel to protect the finish
- A flathead or Phillips screwdriver
- White vinegar for soaking
- Plumber's tape (also called thread seal tape)
How to Stop a Leaking Shower Head: Step-by-Step
Once you've confirmed the leak is coming from the shower head and not the valve, this sequence resolves the vast majority of cases.
Step 1: Turn Off the Water Supply
Find the shower shutoff valve, usually behind an access panel or at the main line, and shut it off before touching anything. Turn a circular knob clockwise until it stops, or rotate a lever a quarter turn. Then open a faucet at the lowest point in the home so residual water in the pipes can drain.
Step 2: Remove the Shower Head
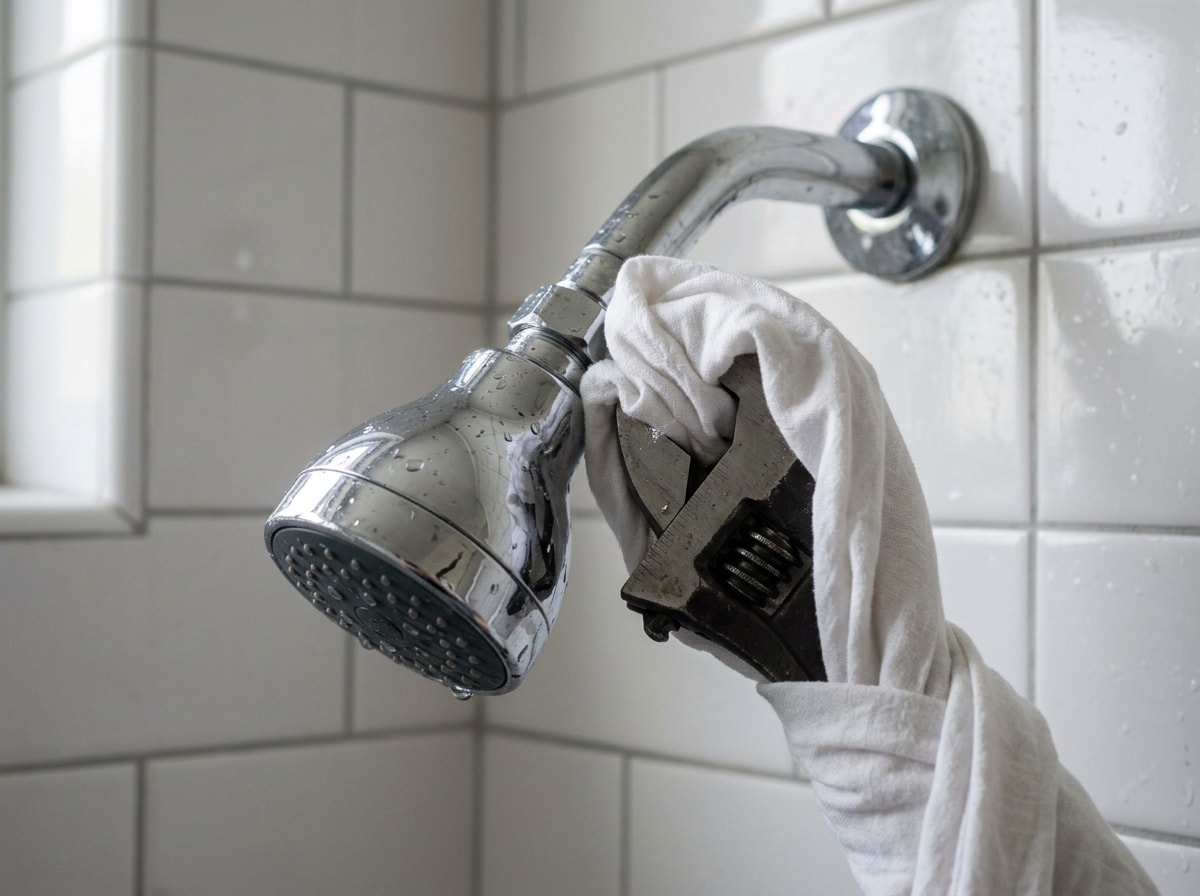
Try unscrewing the shower head by hand first. Many loosen without tools. If it won't budge, wrap a cloth around the connection and use a wrench, turning counterclockwise, to protect the finish while you work it loose.
Step 3: Soak, Scrub, and Replace the Washer
Soak the shower head in a bowl of equal parts water and white vinegar to dissolve mineral deposits in the spray holes. Soak time depends on the finish:
| Finish Type | Soak Time | Buildup Severity |
|---|---|---|
| Brass, gold, or nickel | 30 minutes | Light to moderate |
| Chrome or stainless | 1 to 2 hours | Moderate |
| Plastic or heavily clogged heads | Overnight | Heavy |
After soaking, scrub the spray holes with an old toothbrush and rinse. While it's apart, check the rubber washer and gasket inside the connection. If either looks cracked, flattened, or stiff, swap it for a matching size from your washer kit.
Step 4: Wrap the Threads and Reinstall
Wrap the shower arm's threads with plumber's tape, going clockwise so it won't unravel as you twist the head back on. Hand-tighten the shower head, then snug it with the wrench. Don't overtighten, since that can crack the new gasket. Turn the water back on and run the shower for a minute to check for drips at the connection.
Still Dripping With the Water Off? Fix the Valve Cartridge
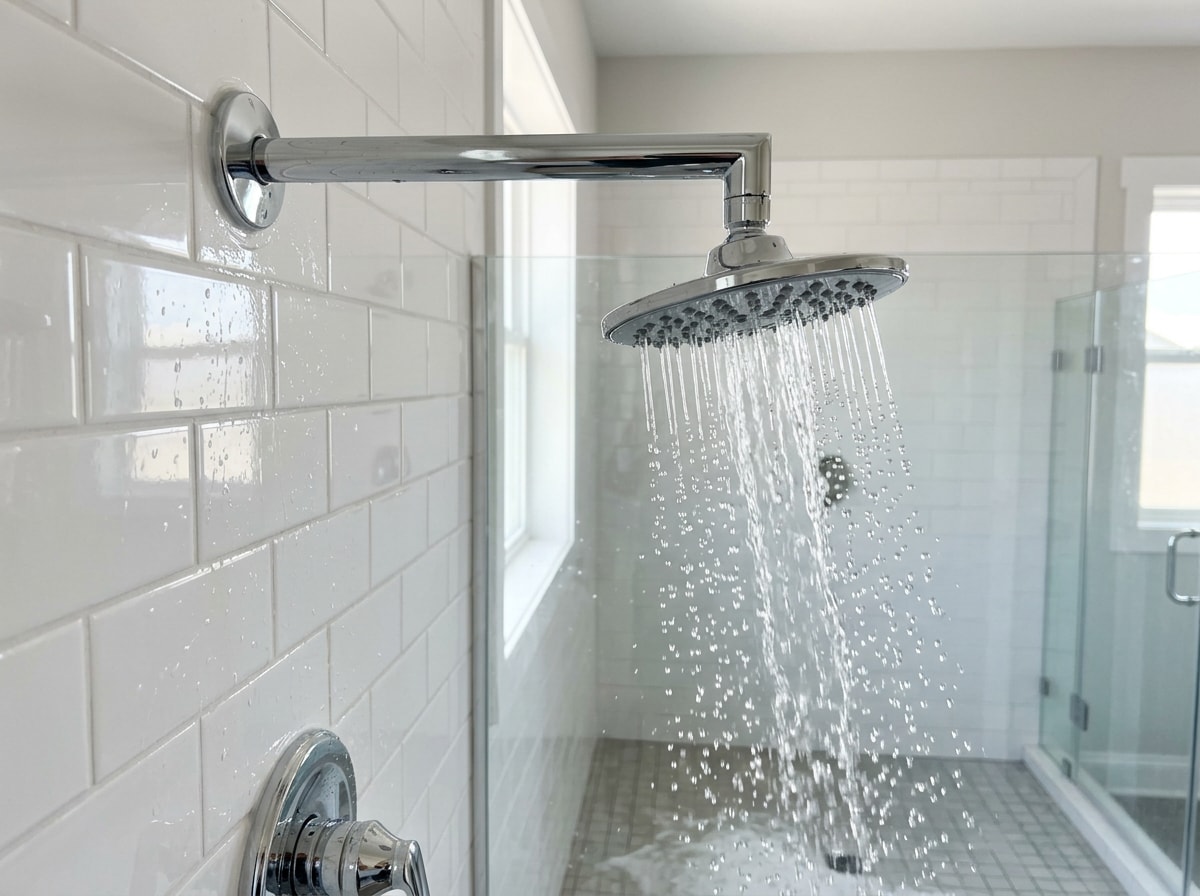
If you've completed the steps above and the drip continues even with the water fully off, the problem isn't the shower head. It's the valve cartridge behind the wall.
The cartridge controls water flow and temperature and is designed to seal tightly when closed. To replace one, remove the faucet handle to expose the cartridge stem. Note which direction it faces before pulling it out, since some models have to go back in the same orientation. Bring the old cartridge to a hardware store, or look up your faucet's brand and model number online, since an exact match is the only permanent fix.
If a new cartridge doesn't stop the drip, the valve body itself is likely damaged. That job means working inside the wall, and it's better left to a plumbing pipe repair specialist who can confirm the issue without opening up more drywall than necessary.
Repair vs. Replace: Cost and Time Guide
Sometimes the smarter move is skipping the repair and replacing the fixture. Here's how the options typically compare:
| Option | Typical Cost | Typical Time | Best For |
|---|---|---|---|
| DIY repair | $5 to $40 in parts | 30 to 60 minutes | Buildup, washers, loose connections |
| Professional repair | $50 to $150 | Same-day visit | Cartridge issues, stuck fittings, no tools on hand |
| Full replacement | $100 to $300 | 1 to 2 hours | Fixtures over 10 years old, damaged valve body, outdated flow rate |
If your fixture is more than a decade old or the valve body shows damage, replacement is usually the better long-term value over another repair cycle. When shopping for a new head, look for a WaterSense label. Showerheads that use no more than 2.0 gpm can earn the WaterSense label , so you get lower water use without sacrificing pressure. A shower installation pro can help you pick a model that fits your existing plumbing and install it correctly the first time.
When to Call a Licensed Plumber in Ladson
Not every leak is a weekend project, and South Carolina law backs that up. In this state, residential plumbing work exceeding $500 requires a license , so once a job moves from a washer swap into valve body replacement or in-wall work, you're often past the point where DIY makes sense anyway.
Call a professional if:
- The leak traces back to the valve or cartridge and a new cartridge didn't fix it
- Your home doesn't have a separate, easy-to-reach bathroom shutoff
- Your DIY repair doesn't hold after a day or two
- You smell or see water damage behind the shower wall
Household leaks add up fast. The average household's leaks can account for more than 9,300 gallons of water wasted every year , and a slow shower head leak left unfixed is a steady contributor to that number. If you're not sure whether what you're hearing is a drip or something bigger, a plumbing leak detection visit can pinpoint it before it turns into a wall repair. For leaks that won't wait, our emergency plumbing repair team serves Ladson, SC and the surrounding Lowcountry.
If you'd rather skip the troubleshooting altogether, get a free estimate and we'll handle the diagnosis and the fix in one visit. You can also browse our full list of services on the King Of Plumbing homepage to see everything we cover beyond shower repairs.
FAQ
Why does my shower head drip when the water is off?
A worn washer or O-ring inside the faucet is the most common reason. It means the valve isn't fully sealing shut, so water slowly leaks through. If replacing the washer doesn't stop it, the cartridge valve is the next thing to check, since a failing cartridge produces the same symptom.
When should I call a plumber to fix a leaking shower head?
Call a professional if the leak traces back to the faucet valve or cartridge, if your home doesn't have a separate bathroom water shutoff, or if your DIY repair doesn't hold after a day or two. Same-week scheduling is available for Ladson, SC homeowners through our contact page.
Can I fix a leaking shower head myself?
Most shower-head-only leaks, meaning buildup, a worn washer, or a loose connection, are easy DIY jobs that take less than an hour with basic tools. Issues inside the valve body or an in-wall cartridge are trickier, and a plumber can usually finish that kind of job in one visit.
How much does it cost to fix a leaking shower head?
A DIY repair runs $5 to $40 in parts. Professional repair typically costs $50 to $150, and full replacement runs $100 to $300. The right number for your situation depends on whether it's a simple washer swap or a full cartridge and valve replacement.
Why is my brand-new shower head still leaking?
Usually a missing or misaligned washer, or threads that weren't wrapped with plumber's tape before installation. Remove the head, confirm the washer is seated correctly, rewrap the shower arm threads, and reinstall by hand before snugging with a wrench. If it still leaks after that, the shower arm or valve connection behind it may need attention, which is a good reason to loop in a faucet repair pro.
For more on keeping fixtures across your home from dripping in the first place, see our guide on whether you need to drip your faucets in North Charleston, SC.